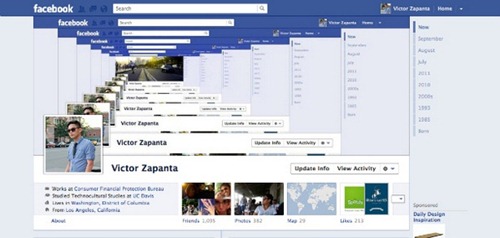
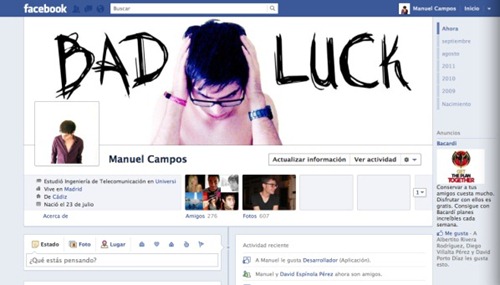
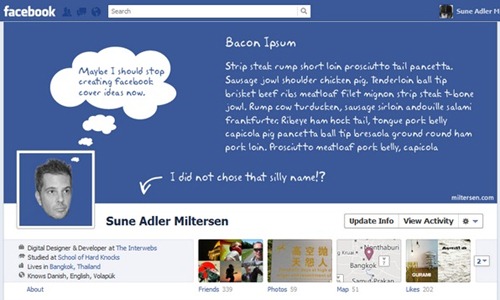
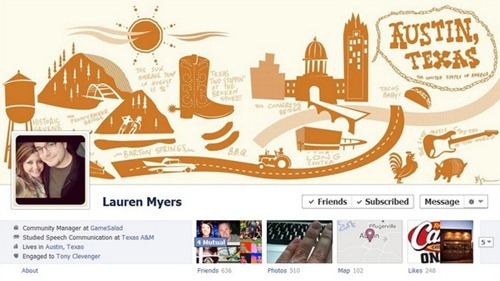
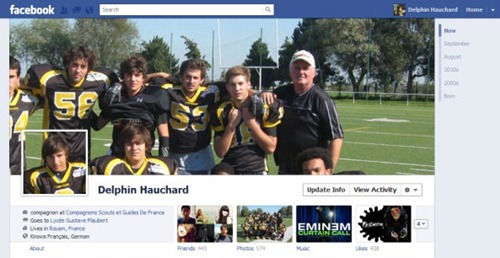
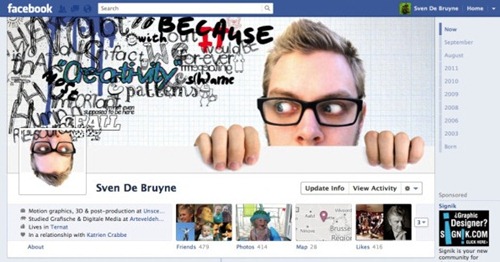
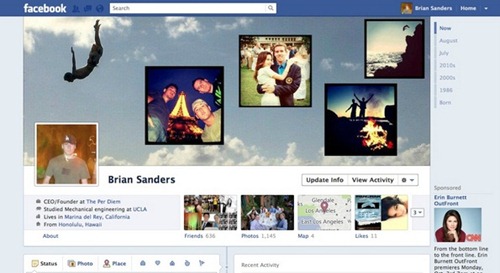
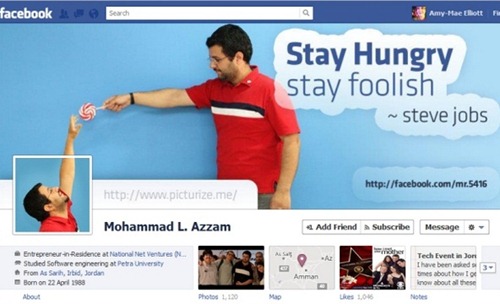
You must have seen some of these innovative Facebook new Timeline cover images by now and also by now must have thought to create a unique design for your own Timeline profile. So follow this tutorial and you will end up in creating your own unique design. This tutorial only applicable to you if you have activate Timeline in your Facebook account.

You must have seen some of these innovative Facebook new Timeline cover images by now and also by now must have thought to create a unique design for your own Timeline profile. So follow this tutorial and you will end up in creating your own unique design. This tutorial only applicable to you if you have activate Timeline in your Facebook account.


Ok I am ready - Now tell me how
Note: I have made this tutorial for creating the cover using
Photoshop (though it can be done with any image editing software) so I expect that you have a copy of that.
Step 1:
Download the attached PSD file and open it in Photoshop
To ease the process
I have already created a PSD file that will come handy for you to create your unique design.
Link:
Download PSD
Downloaded 2655 times
Step 2: Get your cover image
In this tutorial I will try to replicate the first timeline cover above. For that I will be using the below image.

I hope you have downloaded the PSD and the above image by now.
 Step 4: Copy your cover image in this PSD
Open the image that you want to be your cover image and copy the image to this file (simply select all > copy > paste ). For the time being you can open the above cat and fish image.
Step 5: Adjust and resize the image
Adjust and resize image in such a way that the portion of the image that is going to be your profile image falls inside the 3rd slice box. Check the image below. I want to make to two swimming fishes inside the bowl as my profile image. After adjusting the image color rest of the image to match your image background. You may crop the image from bottom and right, but make sure that the image is not less than
(851 x 352) px.
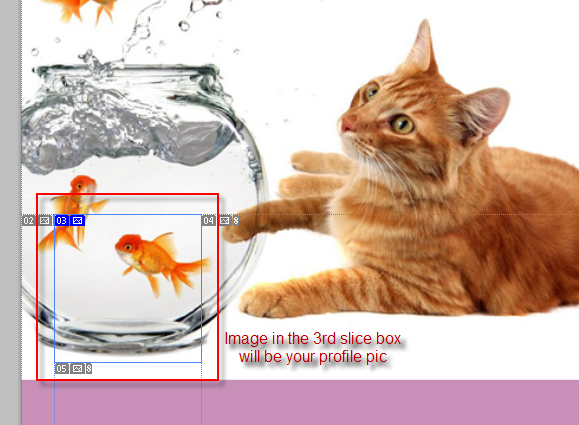 Step 6: Save images
Well you need to save twice
- File > Save as > Select format as PNG > Save [I will refer this as Image 1]
- File > Save for Web and Devices.. > Save [I will refer this as Image 2]
Go to the directory where you saved your Image 2, you will see that there are in fact 5 slices of the above image. Only the 3rd image slice is required. You may delete the rest.
Step 7: Almost done just one more step and you can upload the images
The 3rd image [Image 2] which we will be setting as our profile pic is of dimension
(125 x 125)px. But Facebook won’t let you add any image as profile pic which is less than
(180 x 180)px. Well its not at all a problem. Just open the 3rd Slice in Photoshop and from menu goto
Image > Image Size and resize the image from (125×125) to (180×180)px and save it.
Step 8: Upload the images to your Facebook account
Login to Facebook and click on your name. Then click on
Change cover > Upload a Photo. Upload
Image 1 here.
Click on your
Edit Profile Picture > Upload a photo. Upload the resized image.
Now you have your own customized Timeline cover. See the above Timeline cover in action
here ( facebook.com/hackersclub4u )
For those who don’t have photoshop
The logic is very simple. You need to cut out that part of the cover image which when place as your profile image will perfectly supplement the background cover. So what is that part.
- From Left ( X coordinate of the image) – 28px
- From Top ( Y coordinate of the image) – 227px
- Width – 125px
- Height -125px
After you cut out this part of the image, you need to resize the image to at least 180×180 px or else Facebook won’t let you upload the image to your profile.








 FOLLOW US ON


